⚠ WARNING: This write up is intended to be a guide only. This installation should be completed by a trained professional with sufficient knowledge in automotive electrical wiring. Tapping into the incorrect wiring can result in damage to your vehicle, your detector or injury to yourself. Stealth Mount is not responsible for any damage or injury that may result from improper installation. ⚠
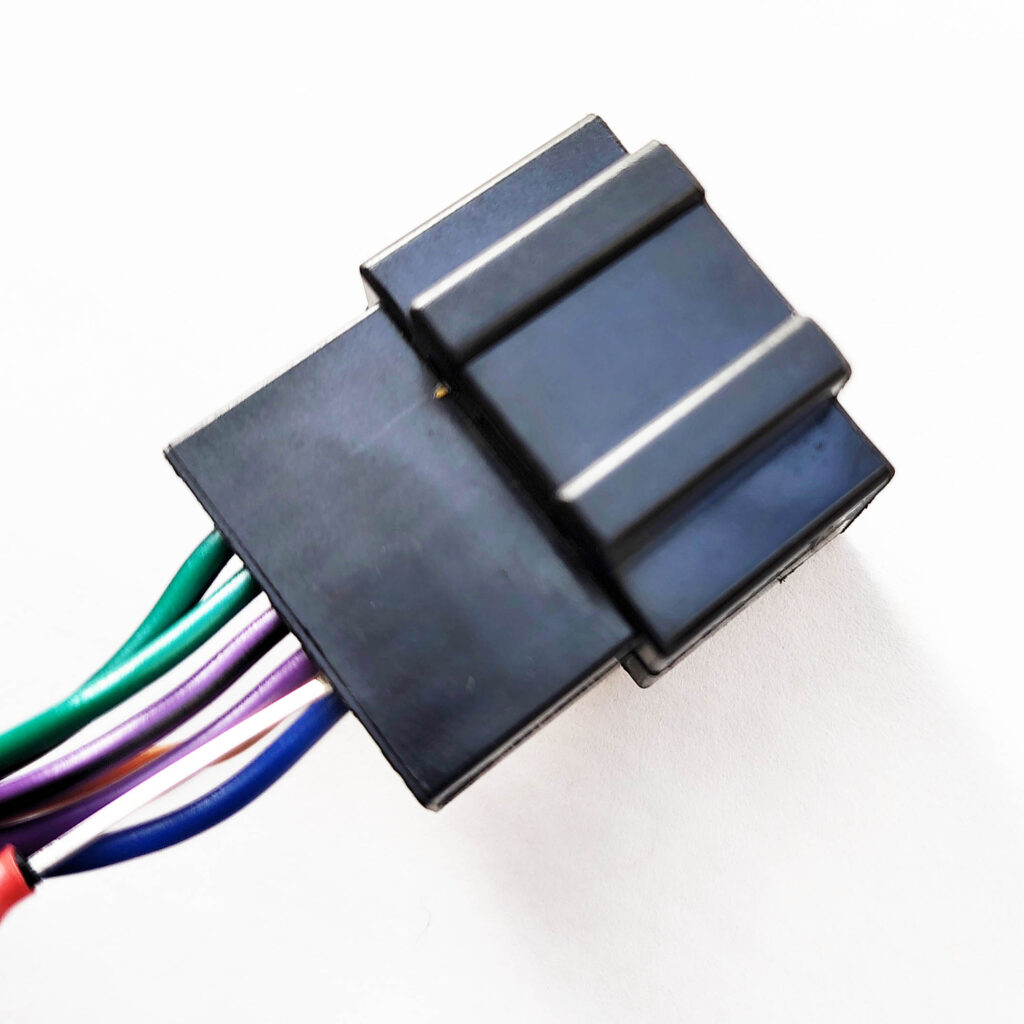
Step 1: Locate a plug near the area where you will be installing the detector (don’t unplug it). Using a multimeter identify a +12V cable that is switched with the ignition (on when you turn the ignition on and off when the ignition is off) and a ground cable.
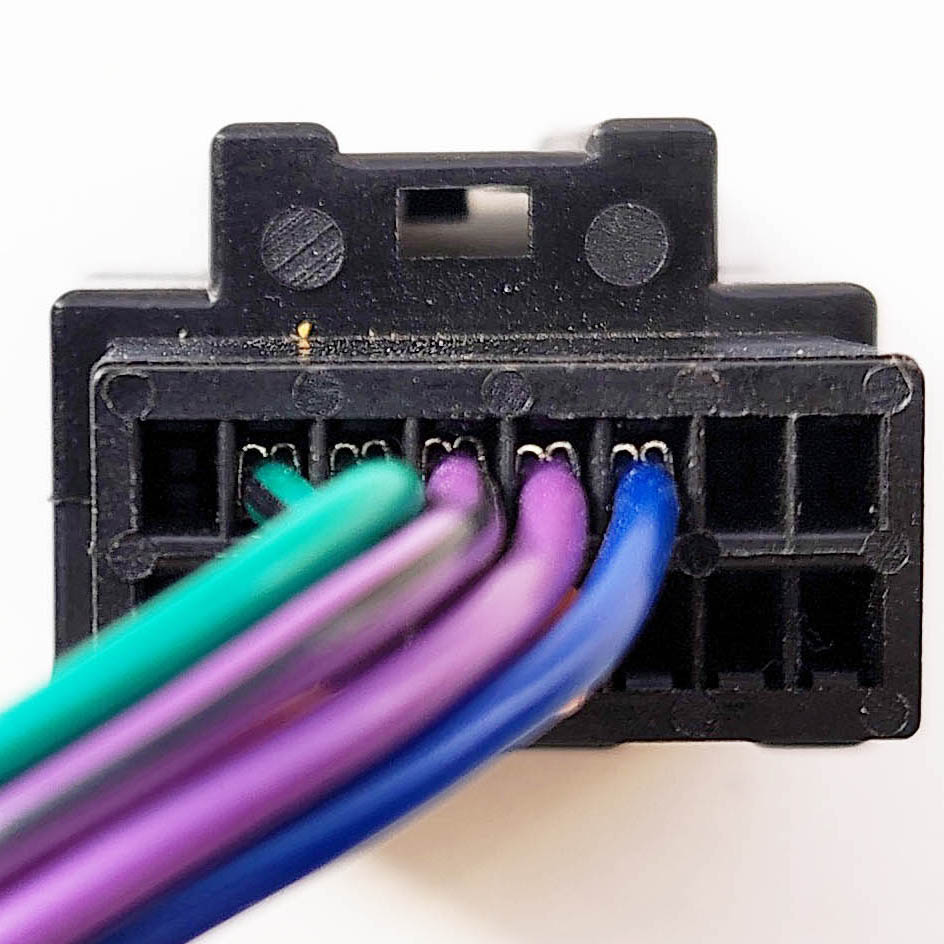
Step 2: This is a closeup of the back of a standard automotive plug. In the next step we will slide the pin from your Stealth Mount dock between the metal crimp connector (shown above in silver) and the black plastic housing.
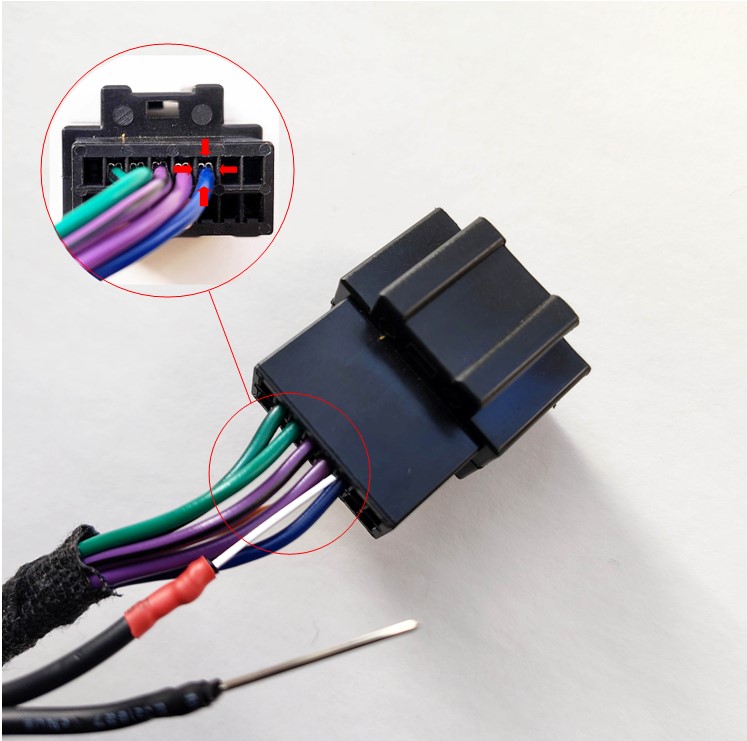
Step 3: Using a firm constant pressure insert the pin with the red heat-shrink into the crimp socket of the +12V cable you identified in step 1. Angle the pin outwards (towards the plastic housing) so you can guide the pin between the metal crimp and the plastic housing. if doesn’t want to go in don’t force it, just try all 4 sides of the cable and it should slide in one of the sides. Once you feel it sliding in between the crimp and the housing keep a firm pressure until it stops but don’t force it if the pin is not all the way in.
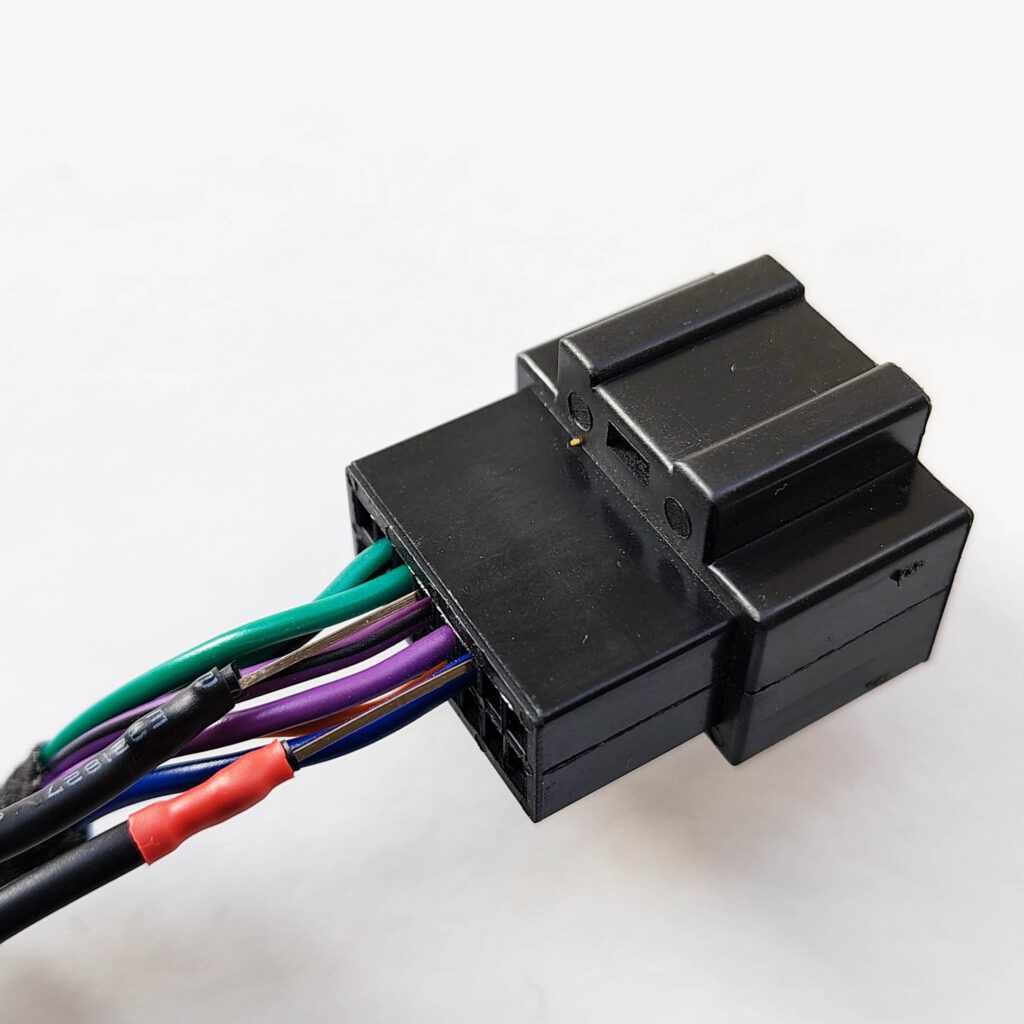
Step 4: Repeat the last step with the ground pin (pin with black heat shrink). This pin will go into the ground crimp socket you identified in step 1
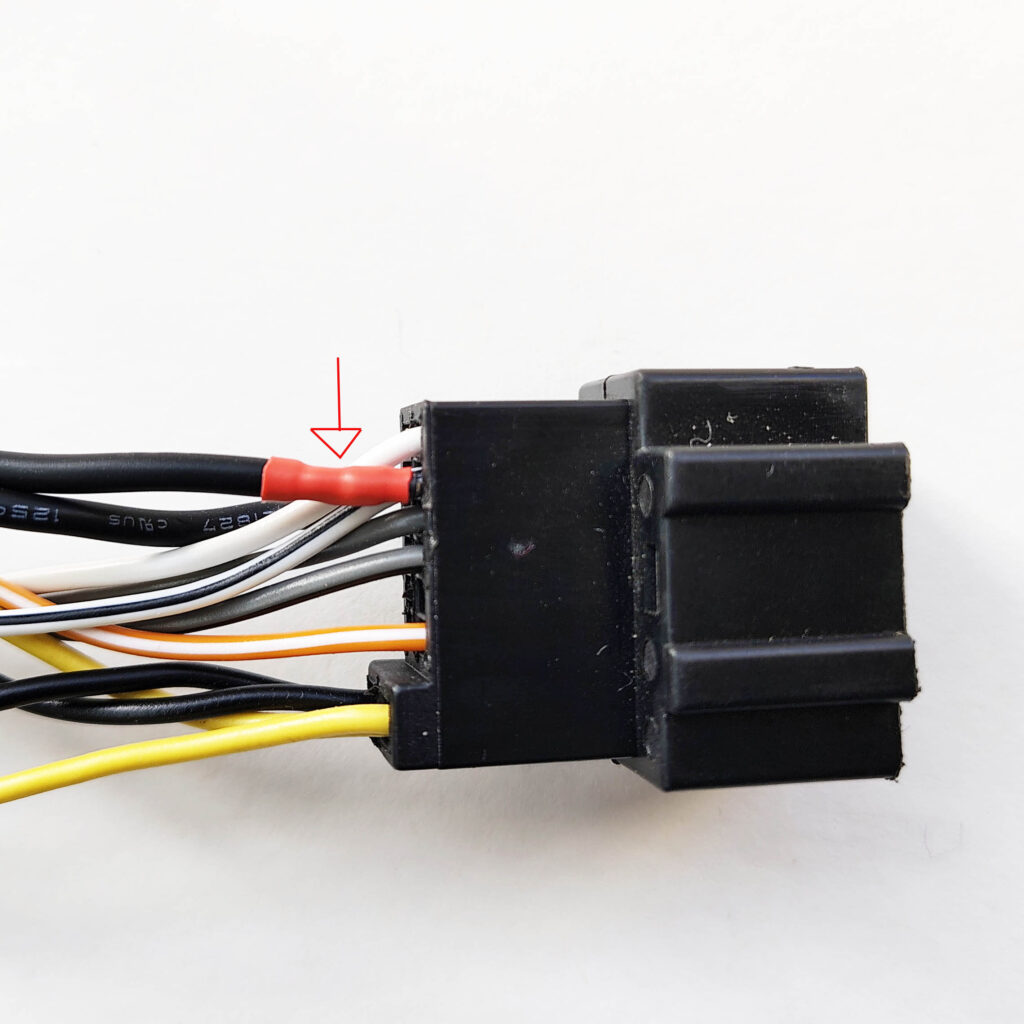
Step 5: If you were able to get the pin the whole way in (as shown above) go to Step 6. If not then the housing is not long enough to take the entire pin and you have a couple of choices. Make sure the pins are not touching each other and test your detector to make sure that you have a connection. If the detector turns on then try one of the following options:
1- Use electrical tape or heat shrink to cover the expose area of the pin
2-Trim the pin using a wire cutter or old nail clipper (nail clipper might get damaged). Make sure to cut in small increments until you can get the pin fully seated because if you cut too much you might not be able to establish a connection. Always test your detector between cuts and make sure the pins are not touching each other.
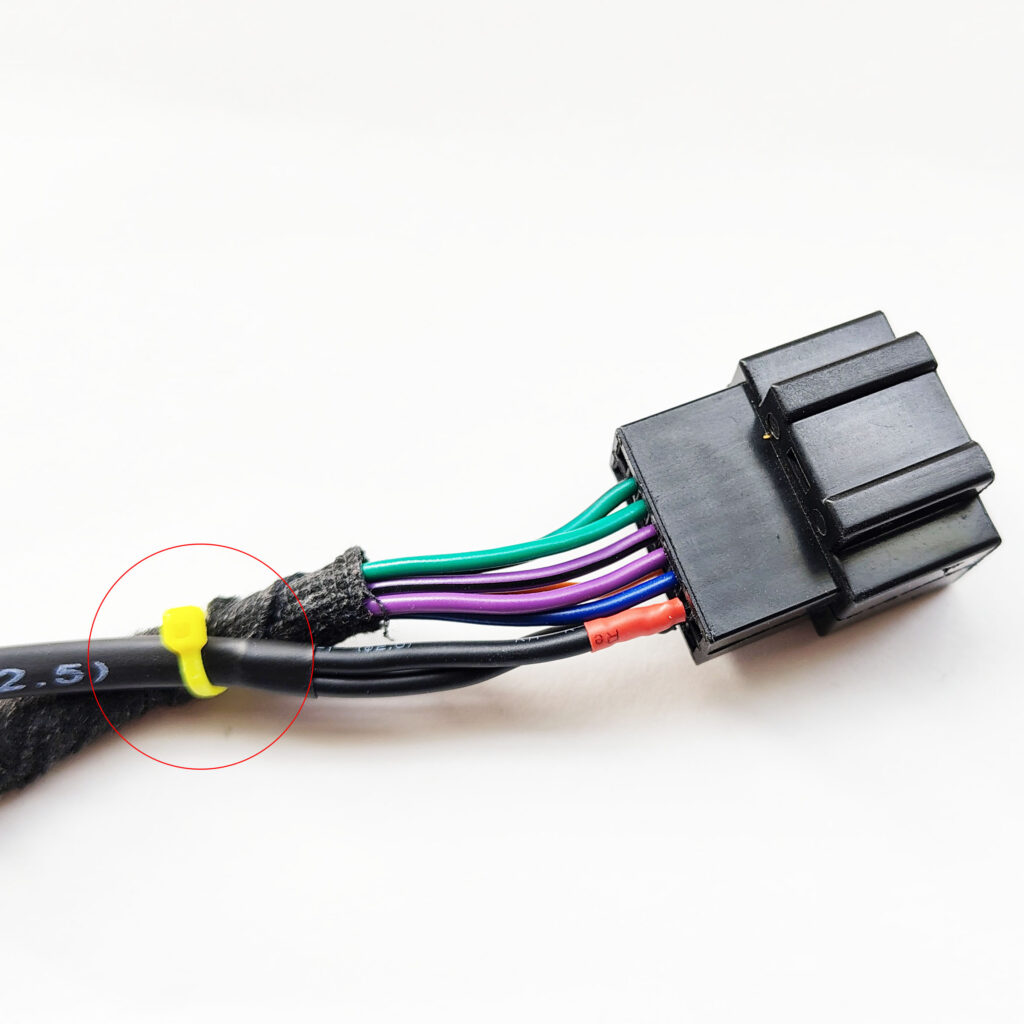
Step 6: Zip tie the stealth mount cable to the OEM cable using the supplied zip tie to secure the connection. (zip tie shown above in yellow for illustration purposes actual zip tie provided is black.)
You are done. Enjoy your Stealth Mount!……………….or jump to the secret bonus step